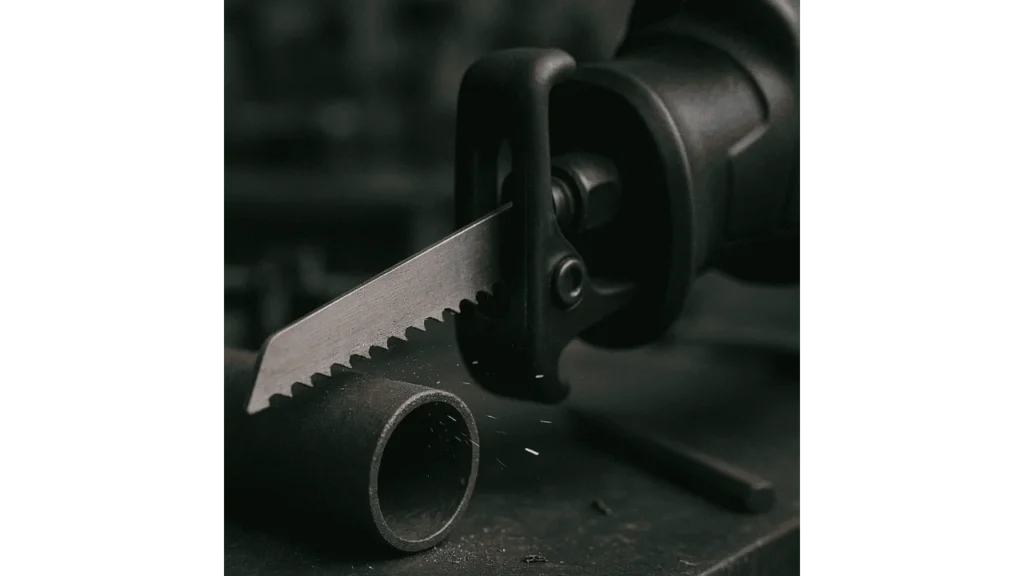
Keeping your reciprocating saw blades sharp is vital for safe and efficient cutting. Dull blades slow down projects, cause uneven cuts, and put extra strain on your tool. Over the years, I’ve found that sharpening blades rather than replacing them is both cost-effective and environmentally responsible. Restoring your blades prolongs their life, reduces waste, and ensures your saw performs at its peak. With proper maintenance, even older blades can deliver near-new cutting efficiency, saving both time and money on your projects.

Understanding Reciprocating Saw Blades
Types of Blades
Reciprocating saw blades come in several varieties, each designed for different applications. Bi-metal blades are durable and versatile, handling wood, metal, and plastic reliably. I use these for most general tasks because they balance durability with ease of maintenance. Carbide-tipped blades are long-lasting and perfect for heavy-duty work, but sharpening them is more challenging. I usually reserve these for tough demolition or metal cutting. High-speed steel blades are easier to sharpen and great for lighter jobs, but they wear faster. They’re a good choice when precision isn’t critical and the workload is moderate.
When to Sharpen your Reciprocating Saw Blades?
“A blade that drags or slows down your cut is a clear sign it needs sharpening,” says contractor Jack Harris.
Signs of dullness include slower cutting speed, visible wear on teeth, and increased effort. From my own experience, I track the performance of each blade and sharpen it when efficiency drops. How often to sharpen depends on usage intensity: heavy daily use may require monthly sharpening, whereas occasional projects can extend this interval.
Tools Required for Sharpening
You’ll need a few essential tools to sharpen blades effectively. A diamond file or sharpening stone is great for manual precision work, letting you maintain tooth shape accurately. A Dremel tool with a grinding attachment works well for power-assisted sharpening, speeding up the process but requiring care to avoid overheating. Secure the blade in a bench vise or clamp to keep it stable during sharpening. Finally, wear safety equipment, gloves, goggles, and a dust mask are non-negotiable to protect yourself from metal shards and dust.
Step-by-Step Guide to Sharpening
Preparation
Start by cleaning the blade thoroughly to remove resin, dust, or rust. A clean blade ensures even contact with the file or grinding bit. Next, secure it in a bench vise, ensuring stability for precise sharpening. I always double-check that the blade is fully clamped before working on it to prevent accidents.
Sharpening Process
Manual Method: Use a diamond file to restore the cutting edge. Maintain the original tooth angle, usually around 30 degrees, and file each tooth evenly, alternating sides to ensure balance.
“Even pressure and consistency are critical. Uneven filing can lead to wobble and inefficient cutting,” says tool technician Sarah Lopez.
Power-Assisted Method: Attach a suitable grinding bit to a Dremel tool. Carefully grind each tooth along the existing bevel. Monitor heat buildup and cool the blade intermittently to avoid damage.
“Power tools speed up the process, but control is essential. Overheating ruins both the temper and tooth profile,” explains David Miller, a professional tool expert I consult.
Balancing the Blade
After sharpening, check the blade’s balance by hanging it from the center hole. If it tilts, lightly file the heavier side until it hangs evenly. This step reduces vibration during use and ensures smoother, safer cuts, a small adjustment that makes a noticeable difference on real projects.
Maintenance Tips to Extend Blade Life
Clean blades after every use to prevent resin and debris buildup. Store them in a dry place to avoid rust or accidental damage. Always match the blade to the material being cut; using the wrong type accelerates wear and dulling. In my experience, proper storage and regular cleaning can double a blade’s useful lifespan.
When to Replace a Blade?
Even the best-maintained blades eventually need replacement. Look for deep chips, cracks, warping, or teeth worn beyond effective sharpening.
“Once a blade is beyond saving, it’s safer to replace it than risk accidents or poor cuts,” emphasizes Jack Harris.
FAQs
Q. Can all reciprocating saw blades be sharpened?
Yes, most reciprocating saw blades can be sharpened, especially bi-metal and high-speed steel types. However, carbide-tipped reciprocating saw blades are more challenging and may require professional sharpening services.
Q. How often should I sharpen my reciprocating saw blade?
It depends on usage. For frequent use, sharpening your reciprocating saw blade every 10–20 hours of operation is recommended. For occasional use, inspect the blade periodically and sharpen it as needed.
Q. Is it better to sharpen a reciprocating saw blade or replace it?
Sharpening a reciprocating saw blade is cost-effective and environmentally friendly. However, if the blade has significant damage or has been sharpened multiple times, replacing it might be more economical.
Q. Can I sharpen a reciprocating saw blade using a regular sharpening stone?
Yes, a regular sharpening stone can be used, but a diamond file or sharpening stone is more effective for the hard materials used in reciprocating saw blades.
Q. Are there professional services for sharpening reciprocating saw blades?
Yes, many tool repair shops offer sharpening services for reciprocating saw blades, especially for carbide-tipped types that are difficult to sharpen at home.
Final Takeaways
Sharpening reciprocating saw blades is practical, cost-effective, and eco-friendly. Regular maintenance ensures your tool cuts efficiently and lasts longer. By following these steps and incorporating proper blade care, you’ll improve your cutting performance, reduce tool strain, and make every project safer and smoother. From my own experience, a well-maintained blade consistently outperforms a new, dull one, making this practice invaluable for any DIYer or professional.
- 7 Best Professional Jigsaws Tested for 2026 - January 20, 2026
- 7 Best Jigsaws for Home Use in 2026 - January 20, 2026
- 7 Best Jigsaws for Beginners Tested in 2026 - January 20, 2026
