A radial arm saw is only as good as the blade it’s running. Over time, even high-quality blades wear out, leading to rougher cuts, overheating, and safety risks. Changing the blade at the right time ensures smooth, accurate performance and keeps your saw operating safely. While sharpening can restore some blades, others simply reach the end of their lifespan and must be replaced. From my experience, switching to a new blade instantly improves precision, the difference between a struggling cut and a clean, effortless glide is striking. Let’s learn the process’s preparation, removal, installation, and essential checks so you can replace your blade confidently and correctly.
Signs That You Need to Change the Radial Arm Saw Blade
A dull blade makes itself known through several telltale signs. You may notice burn marks on wood, drag during cuts, or uneven edges even when the saw is properly aligned. As teeth lose their edge, the blade begins to tear fibers rather than slice them cleanly, leading to rough surfaces and wasted material.
Inspect the blade closely for chipped or missing teeth, warped plates, or discoloration caused by overheating. Another reason for replacement is when your blade’s diameter or arbor hole size no longer matches the saw’s recommended specifications or has worn past safe limits. Continuing to use such a blade risks damaging both the saw and your workpiece.
“The moment you feel resistance where there used to be none, the blade’s past its prime, that’s the time to replace it,” says Chris Marshall, senior editor at Woodworker’s Journal.
Preparation Before Changing the Blade
Before beginning any maintenance, always disconnect power from the saw. For corded models, unplug from the outlet; for cordless saws, remove the battery completely. Raise the blade to its highest position to give yourself space to work, and if your model allows it, lock the arm in place to prevent accidental movement.
Next, clean the area around the arbor using a soft brush or compressed air to remove sawdust and resin buildup. A clean workspace ensures the new blade seats properly. Choose the correct replacement blade by matching its diameter, arbor hole size, and RPM rating to the manufacturer’s recommendations. Finally, gather the required tools, including a wrench or blade-locking tool and a pair of protective gloves to handle the sharp edges safely.
Step-by-Step: Changing the Blade on a Radial Arm Saw
Remove the Old Blade
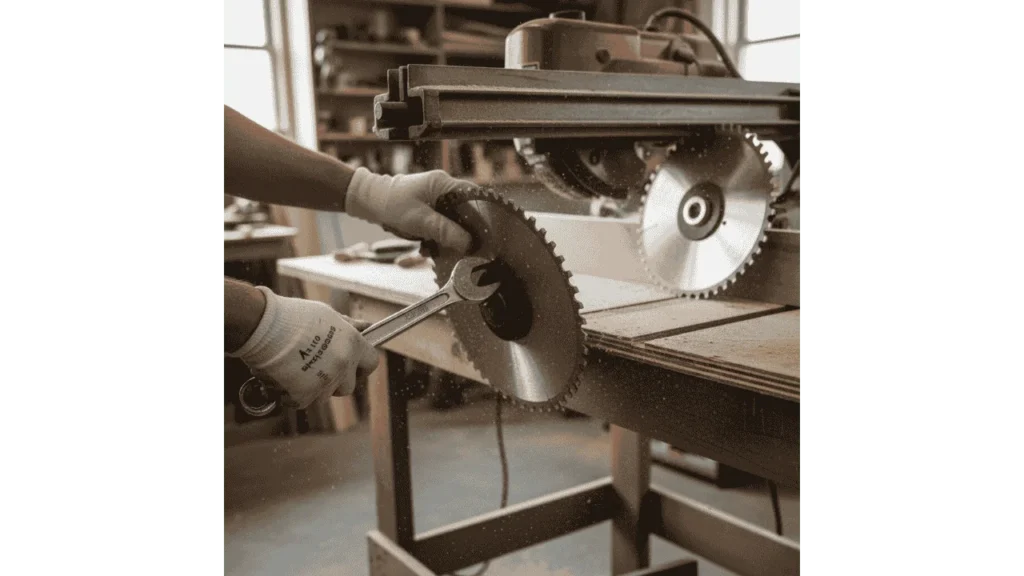
Start by unlocking and raising the saw head so the blade is easy to reach. Engage the blade or spindle lock to prevent it from spinning while you work. Use the correct wrench and turn the arbor nut in the proper direction, many saws have reverse-threaded nuts, so check your manual before applying force. Once loosened, carefully slide off the old blade, noting its rotation direction and guard placement for reference. Handle the blade gently and set it aside on a flat surface away from the work area.
Install the New Blade
Position the new blade so its rotation arrow matches the saw’s cutting direction. Slide it onto the arbor, ensuring the washer or flange sits flat and even. Hand-tighten the arbor nut first to keep the blade seated correctly, then use your wrench to finish tightening it according to the manufacturer’s torque recommendation. Afterward, lower the blade guard and make sure both the guard and any riving knife or splitter are correctly aligned. This ensures the blade tracks straight and prevents binding during cuts.
“Precision matters more than force when changing blades, over-tightening can distort the flange and cause wobble,” explains Paul Sellers, master woodworker and instructor.
Final Checks & Test
Before restoring power, spin the blade by hand to ensure it moves freely without scraping or catching the guard. Once it rotates smoothly, reconnect power and make a test cut on a piece of scrap wood. Observe how the blade sounds and feels, a properly installed blade should cut quietly and leave a clean, consistent edge. Check the alignment of the fence and guard one last time to confirm everything is secure.
“If a new blade hums evenly through a cut, you’ve done the change right, uneven sound means something’s off,” says Tom Silva, general contractor at This Old House.
You might also like: How to Use a Radial Arm Saw?
Best Practices & Tips
Always choose a blade rated for your saw’s specific RPM and diameter. Using a mismatched blade can cause vibration, poor cuts, or even failure under load. Inspect arbor washers and flanges regularly, replace them if worn, dented, or rusted, as these parts play a critical role in keeping the blade centered.
Store spare blades flat, dry, and clean to avoid warping or corrosion. Keeping a maintenance log of when each blade was installed helps you track lifespan and performance. A fresh, properly installed blade produces cleaner results and reduces wear on your motor over time.
Safety Considerations
Before touching the saw, ensure it’s powered off and unplugged. Always wear gloves to protect your hands from the sharp teeth, and keep your fingers clear of the arbor area during installation. Lock the saw head in place to prevent accidental movement while you’re changing the blade.
“Every blade change should start with power off, a locked head, and a clear mind, rushing this step leads to mistakes,” advises Norm Abram, renowned carpenter and TV host.
Make sure the blade guard and all safety devices are properly re-engaged before operating the saw again. Never skip a test cut, it’s your confirmation that the blade is secure and tracking correctly.
FAQs
How often should I change the blade on a radial arm saw?
You should consider changing the blade when you notice burning wood, edge chipping or a rough finish. For frequent use, this may mean replacing the radial arm saw blade every 100–200 hours depending on material and maintenance.
What tools do I need to change a radial arm saw blade?
To change a radial arm saw blade you’ll need a suitable wrench or blade-nut tool for your model, gloves, a compatible replacement blade, and clean workspace for the change.
Do I need to align anything after installing a new radial arm saw blade?
Yes, after changing the radial arm saw blade, spin the blade by hand to check for clearance, ensure guards and splitter are aligned, then make a test cut on scrap to verify alignment and cut quality.
Can I reuse the old blade after changing a radial arm saw blade?
Only if the old radial arm saw blade is undamaged: no missing teeth, no warp, and it’s still sharp. Otherwise, it’s safer to discard it rather than risk poor performance or safety issues.
What size blade should I use when changing a radial arm saw blade?
Always use a blade that matches the diameter, arbor size, and RPM rating recommended by the saw’s manufacturer when changing a radial arm saw blade to ensure safe and accurate operation.
Is it safe to change a radial arm saw blade myself?
Yes, as long as you disconnect power, use the correct tools, follow the manufacturer’s instructions, and verify guard and alignment settings after installing the new radial arm saw blade.
Can changing the radial arm saw blade fix finish-quality problems?
Often yes, installing a fresh replacement blade on your radial arm saw can restore clean, accurate cuts if the previous blade was dull, chipped or misaligned.
Final Takeaways
Changing the blade on a radial arm saw is a simple but crucial maintenance task that directly affects both cut quality and safety. Always start by disconnecting power and preparing a clean workspace. Choose a replacement blade that matches your saw’s size, arbor hole, and RPM rating, and make sure it’s installed with the correct rotation direction. After securing the nut and guard, perform a test cut to verify performance. Regular blade changes keep your saw cutting smoothly, reduce stress on the motor, and ensure every project ends with sharp, accurate results.
his personal experience and loves to share their nitty gritty details with his audience.
Although Richard does focus on other home improvement tools, his focus remains on cutting fallen trees or maintaining his backyard via chainsaw tools. He pledges to come up with new knowledge about chainsaws every once in a while.
- 7 Best Professional Jigsaws Tested for 2026 - January 20, 2026
- 7 Best Jigsaws for Home Use in 2026 - January 20, 2026
- 7 Best Jigsaws for Beginners Tested in 2026 - January 20, 2026