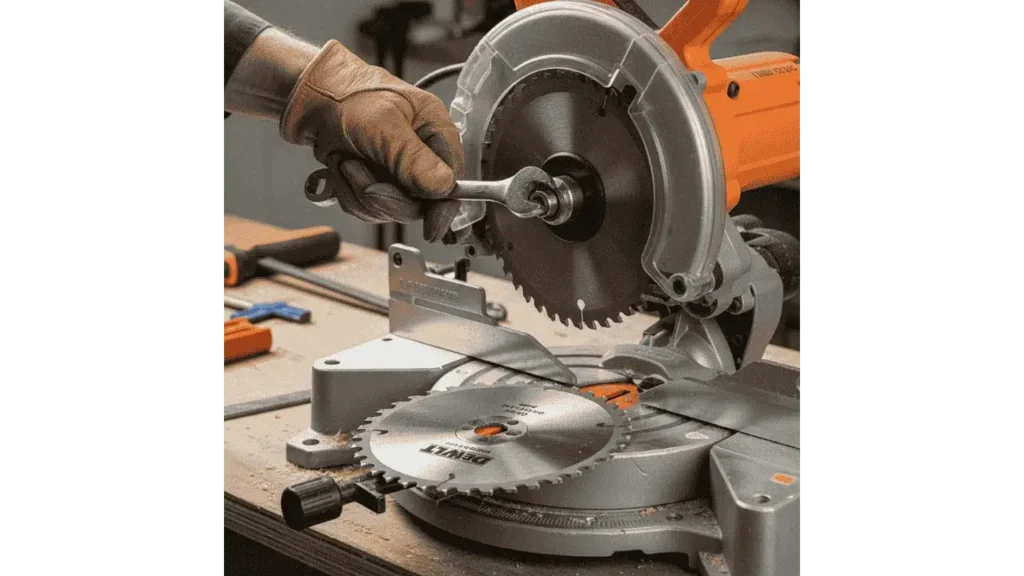
Knowing how to change a chop saw blade is essential for maintaining safe and precise cuts. You’ll find that replacing blades correctly not only improves accuracy but also keeps your workflow efficient. From my experience, having the skill to change blades quickly prevents delays during projects and helps maintain the saw’s performance over time. The process can vary slightly depending on the brand and model, so understanding your saw’s specific mechanism ensures that you complete the blade change safely and effectively.

Tools and Safety Gear Needed
Tools
Most chop saws include a wrench or blade key to loosen the arbor nut for blade removal. Some modern models feature tool-free blade change systems, allowing you to swap blades more quickly. You should always verify which system your saw uses before starting, as this determines the tools or steps required. Having the correct tool on hand beforehand makes the process smooth and prevents potential damage to the saw or blade.
Safety Gear
Always wear gloves to protect your hands from sharp blade teeth and safety goggles to shield your eyes from dust or debris. Ensure the saw is unplugged before handling the blade, and never attempt changes while it is powered.
“Safety is the first step in every blade change; even small oversights can cause injuries or damage,” emphasizes tool technician Sarah Lopez.
You Might Also Like: What is a Chop Saw Used For?
Step-by-Step Guide to Changing a Chop Saw Blade
“Following each step methodically ensures the blade is installed securely and operates safely,” says contractor Jack Harris.
Step 1: Power Off and Secure
Unplug the chop saw from its power source, or remove the battery for cordless models. Make sure your work area is clean, stable, and free of obstructions. Starting with a clear workspace reduces the risk of accidents and makes the process faster.
Step 2: Lock the Blade
Engage the arbor lock if your saw has one. This prevents the blade from spinning while you loosen the arbor nut, making it safer to remove or install a blade.
Step 3: Loosen the Arbor Nut or Clamp
Depending on your saw, use the included wrench, key, or the tool-free lever to loosen the arbor nut or blade clamp. I’ve found that applying controlled, steady force ensures the hardware isn’t damaged during this step.
Step 4: Remove the Old Blade
Carefully slide the old blade straight off the arbor, handling the teeth carefully. Dispose of worn blades safely or store them if they are still reusable. Proper removal prevents injury and protects the blade for potential future use.
Step 5: Install the New Blade
Ensure the teeth face the correct cutting direction, typically forward toward the material. Slide the new blade fully onto the arbor, verifying that it sits properly in the slot. In my experience, confirming orientation at this step prevents cutting errors and improves efficiency.
Step 6: Tighten the Arbor Nut or Clamp
Secure the blade using the wrench, key, or tool-free mechanism. Double-check that the blade is seated correctly and spins freely without wobbling. A properly tightened blade is critical to achieving accurate cuts and preventing accidents during operation.
Related: How to Sharpen a Chop Saw Blade?
Tips and Best Practices
Always select the right blade for the material you plan to cut. Keep the blade and arbor clean to prevent slippage or improper seating. Regularly inspect the arbor, clamp, and blade guard to maintain safety. Store spare blades in a secure location to prevent accidental cuts. Following these practices ensures smooth operation and extends the lifespan of both the blade and the saw.
Recommended Read: How to Use a Chop Saw?
Troubleshooting Blade Installation
“Most blade issues stem from improper seating or orientation; a quick check usually resolves the problem,” explains tool expert David Miller.
If the blade won’t fit, check its orientation and clean the arbor slot. If it slips during operation, ensure the nut or lever is fully tightened. A wobbling blade may be bent or improperly seated, replace it if necessary to maintain safety and precision.
FAQs
How do you change a chop saw blade safely?
Always unplug the saw, wear gloves and goggles, and follow the saw’s blade-locking and tightening procedure.
Can all chop saws use tool-free blade changes?
No, some older or budget models require a wrench or key to loosen the arbor nut. Always check your model’s instructions.
Which way should the teeth face when installing a chop saw blade?
The teeth should face the direction of cutting, usually forward toward the material being cut.
What if the new chop saw blade slips during cutting?
Ensure the arbor nut or tool-free clamp is fully engaged and tighten as needed. Replace bent or worn blades if necessary.
How often should I change a chop saw blade?
Change the blade whenever it becomes dull, chipped, or damaged to maintain safe and efficient cutting.
Final Takeaways
Changing a chop saw blade is a quick, safe process when you follow the correct steps. Proper installation ensures accurate cuts and reduces the risk of accidents. By choosing the right blade type, keeping it sharp, and maintaining your saw, you can extend the life of both the blade and the tool, making your cutting projects more efficient and reliable.
- 7 Best Professional Jigsaws Tested for 2026 - January 20, 2026
- 7 Best Jigsaws for Home Use in 2026 - January 20, 2026
- 7 Best Jigsaws for Beginners Tested in 2026 - January 20, 2026
