Cutting acrylic or plexiglass (PMMA) with a circular saw is absolutely possible, but it requires understanding how this material behaves under friction and heat. Unlike wood, acrylic is prone to melting, chipping, and cracking, especially when the blade is too coarse or the feed rate is too aggressive. Over the years, I’ve cut countless acrylic sheets for fabrication and display work, and the difference between a smooth, chip-free edge and a rough, burned cut always comes down to blade choice, setup precision, and consistent control of heat. A circular saw offers clean, efficient cutting for thicker acrylic panels, but only if the technique respects the material’s sensitivity.
What Makes a Circular Saw Suitable for Cutting Acrylic?
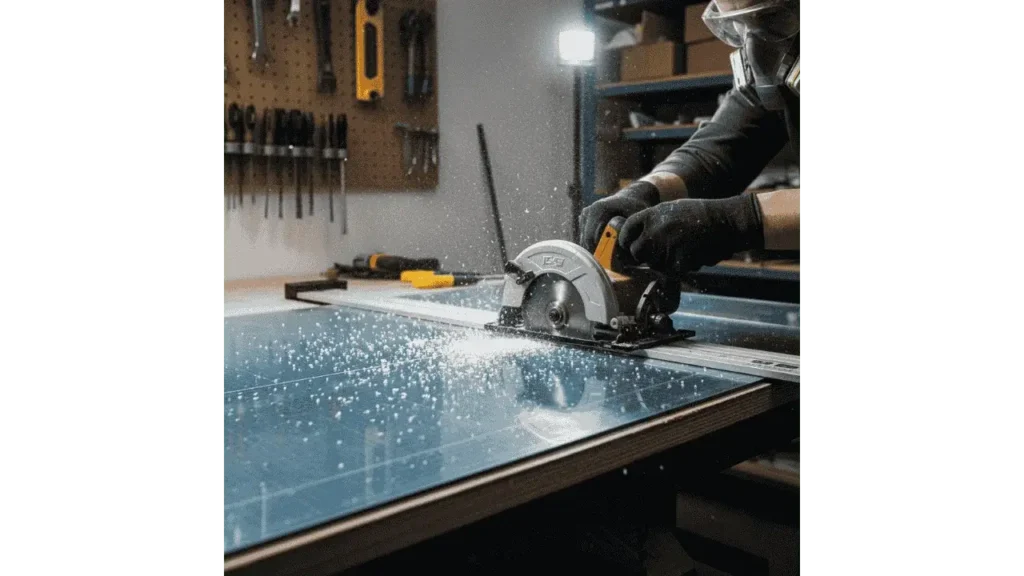
A circular saw is particularly effective for acrylic sheet cutting when you need long, straight cuts with speed and power. Unlike scoring tools, which struggle with thicker panels, a saw fitted with the right fine-tooth blade provides enough stability and torque to move through thicker acrylic panels cleanly. This makes it ideal for DIY or fabrication projects where accuracy and efficiency matter. When the blade, feed rate, and saw setup are calibrated correctly, a circular saw can produce clean chip-free edges while maintaining excellent finish quality.
How Does Acrylic React to Circular Saw Cutting?
Acrylic reacts differently than wood because it responds intensely to heat and friction. If the blade lacks enough teeth or the plastic-cutting blade geometry isn’t appropriate, the panel may chip along the cut line. Excess heat builds rapidly, which can cause melted edges or even stress cracks if the material vibrates against the work surface. Proper support is essential, because any flex in the sheet increases the chance of the cut binding or producing rough edges.
As plastics-machining expert Daniel Crestwell notes,
“Acrylic rewards precision, clean cuts happen only when the blade, speed, and support all work together to control heat.”
What Blade Should You Use When Cutting Acrylic With a Circular Saw?
A fine-tooth blade, preferably a carbide-tipped blade or a triple-chip-grind (TCG) blade, is the best option for cutting acrylic with a circular saw. These blades typically have higher tooth counts, often 60 to 80 teeth, which reduce the size of each chip removed, dramatically lowering the risk of chipping or cracking. Blades specifically labeled for plastics or acrylic help prevent melting because their tooth geometry disperses heat more effectively. Avoid framing, ripping, or rough-cut blades, as their coarse teeth generate excessive friction and damage the acrylic.
How Should You Prepare Acrylic Sheets Before Cutting?
Preparation determines whether the final edge will be smooth or full of fractures. Always leave the protective film on both sides to shield the acrylic surface from scratches. Mark your cut line clearly using tape or a fine marker, ensuring high visibility under the saw. The sheet must be fully supported, using sawhorses, a support surface, or a foam board, to eliminate vibration. Once positioned, clamp the sheet or use hold-downs so it stays perfectly still during the cut.
As fabrication specialist Mira Sandoval explains,
“Acrylic will forgive a slow feed rate, but it won’t forgive instability. Secure the sheet, and half the cutting problems disappear.”
What Is the Correct Technique for Cutting Acrylic With a Circular Saw?
Set the blade depth so it extends just slightly deeper than the sheet thickness, minimizing tear-out and heat concentration. Start the saw before it contacts the material to avoid chipping at the entry point. Feed the saw slowly and steadily, an essential part of preventing melting since aggressive cutting traps excess heat. Let the blade do the cutting; the goal is accurate cutting through a consistent, controlled feed rate. Ensure the off-cut is supported as well, since a hanging edge can introduce stress that leads to cracking as the cut completes.
How Can You Prevent Melting or Chipping When Cutting Acrylic?
The key to avoiding melted edges or cracks is managing heat. A slow, steady feed helps keep friction under control, while a thin-kerf blade reduces heat buildup. For long cuts, allowing a brief pause for air cooling helps prevent overheating of both blade and material. Keeping the acrylic well supported eliminates vibration, which is another major cause of chipping. Some fabricators also use masking tape over the cut line for extra protection. Above all, selecting the correct blade and controlling your pace ensures clean, chip-free edges.
What Safety Tips Should You Follow When Cutting Acrylic?
Always wear safety glasses, because acrylic shreds produce sharp chips that can fly unpredictably. A dust mask and hearing protection help maintain safe working conditions. Keep hands clear of the blade path and never reach under the sheet while cutting. If you need to adjust the saw or change the blade, unplug it or remove the battery to eliminate risk. Finally, maintain a clean worktable or support area so nothing interferes with the smooth movement of the saw.
Frequently Asked Questions (FAQs):
Q1: Is cutting acrylic with a circular saw safe?
Yes, cutting acrylic with a circular saw is safe when you use a fine-tooth blade and proper support. Acrylic is more delicate than wood, so the key is controlling heat, vibration, and cutting speed to avoid cracks or melting.
Q2: What blade should I use for cutting acrylic with a circular saw?
When cutting acrylic with a circular saw, choose a high-tooth carbide blade or a blade designed for plastics. These blades reduce friction and chipping, giving you a smoother, cleaner edge with less risk of melting.
Q3: Can acrylic melt while cutting it with a circular saw?
Yes, acrylic can melt when cutting acrylic with a circular saw if the blade heats up from fast feed speed or incorrect tooth design. Slow, steady movement and a fine-tooth blade help keep the material cool and prevent melting.
Q4: How do I stop acrylic from chipping when using a circular saw?
To reduce chipping while cutting acrylic with a circular saw, keep the sheet fully supported, leave the protective film on, and use a high-tooth blade. Adding masking tape along the cut line can also protect the edges from splintering.
Q5: Is a circular saw better than scoring for cutting acrylic?
For thicker sheets, cutting acrylic with a circular saw is more efficient and produces straighter cuts than scoring. Scoring is better for thin sheets, while circular saws excel with thicker or longer pieces requiring clean, controlled cuts.
Final Takeaways
A circular saw can cut acrylic cleanly and safely when the right combination of fine-tooth blade, stable support, and controlled saw speed is used. Acrylic demands attention to heat, vibration, and feed consistency, but with proper setup it’s entirely possible to achieve a smooth, professional-looking edge. Keeping the protective film on, supporting and securing the sheet, and ensuring a steady, unforced motion all contribute to a clean finish. By managing heat and maintaining full support, you can avoid cracking, melting, or rough edges, producing results that look precise and intentional.
his personal experience and loves to share their nitty gritty details with his audience.
Although Richard does focus on other home improvement tools, his focus remains on cutting fallen trees or maintaining his backyard via chainsaw tools. He pledges to come up with new knowledge about chainsaws every once in a while.
- 7 Best Professional Jigsaws Tested for 2026 - January 20, 2026
- 7 Best Jigsaws for Home Use in 2026 - January 20, 2026
- 7 Best Jigsaws for Beginners Tested in 2026 - January 20, 2026